
Share this Post
One of my favorite aspects of the book Things To Do is the energy contained in the words and layout. These poems are anything but static! The placement, font, size and color of the words move the reader up, down, and all around the page. As I read, I get the urge to jump, glide, buzz and twirl along—which makes me want to create a very kinetic craft.
here’s what we’re making
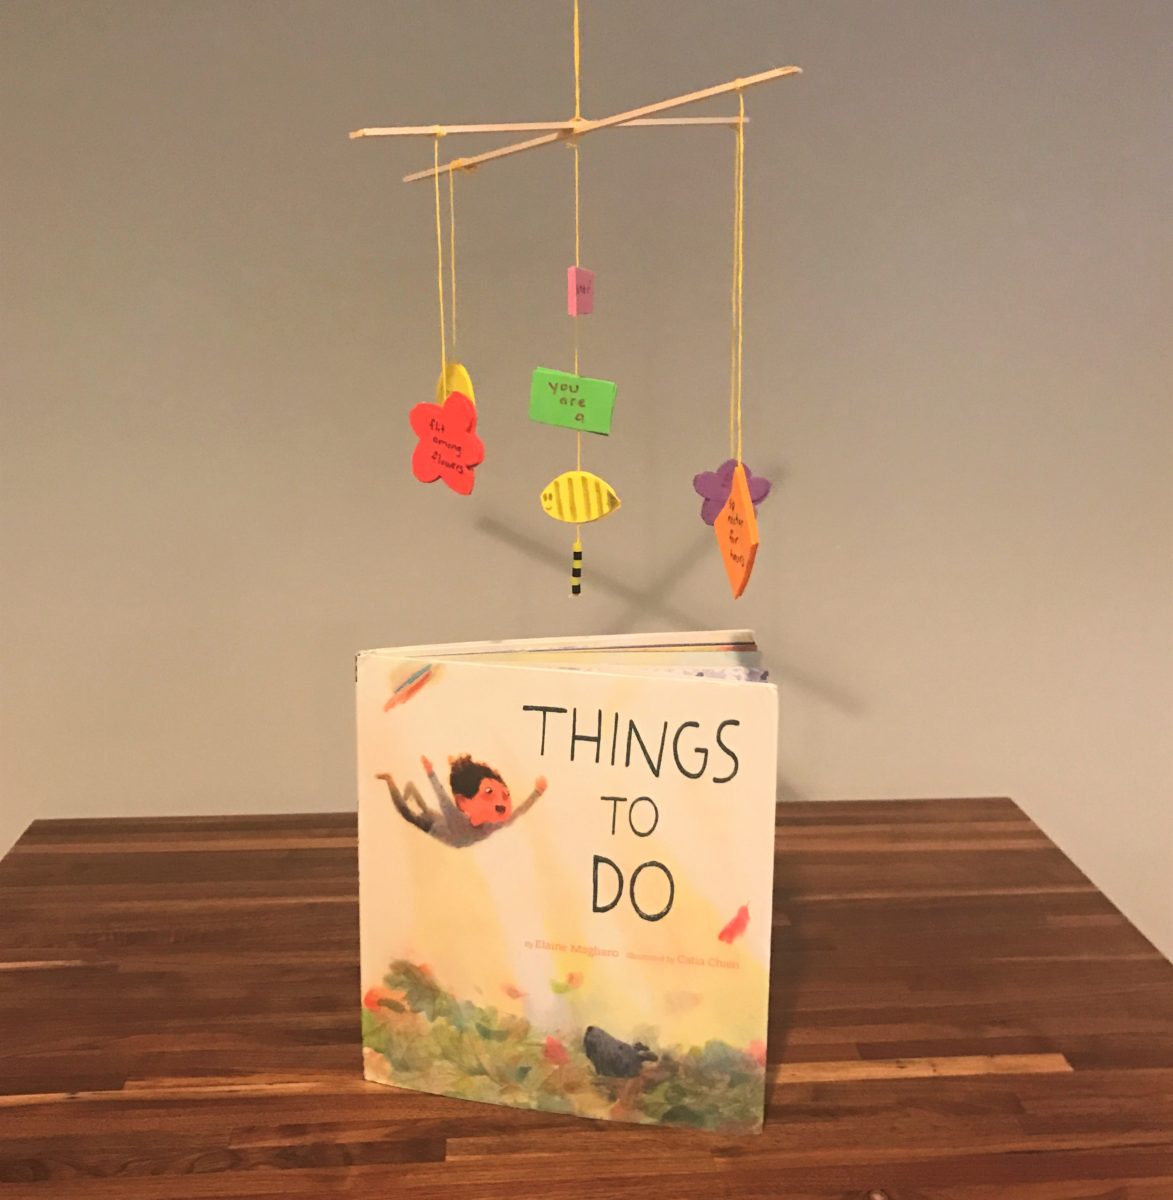
Whether kids write their own Things To Do-style poems or use one from the book, this easy-to-make mobile will put their poetry in motion!
here’s what you’ll need
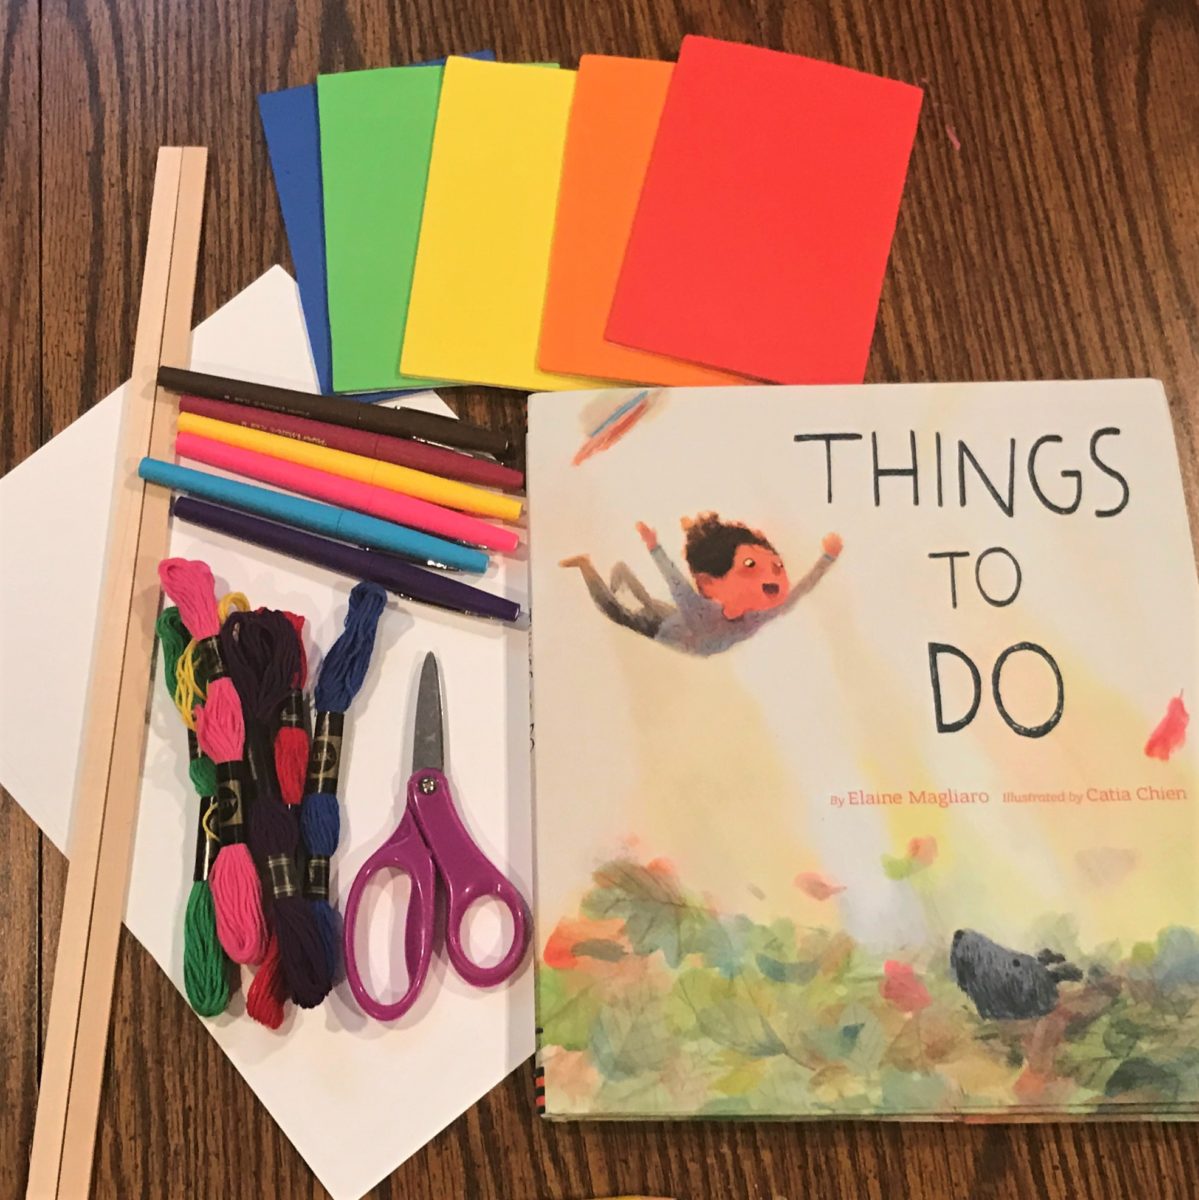
let’s get started!
Instructions:
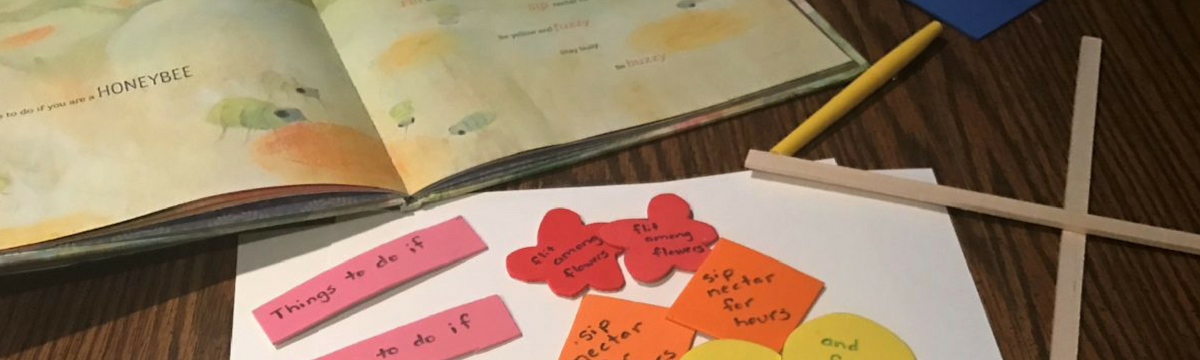
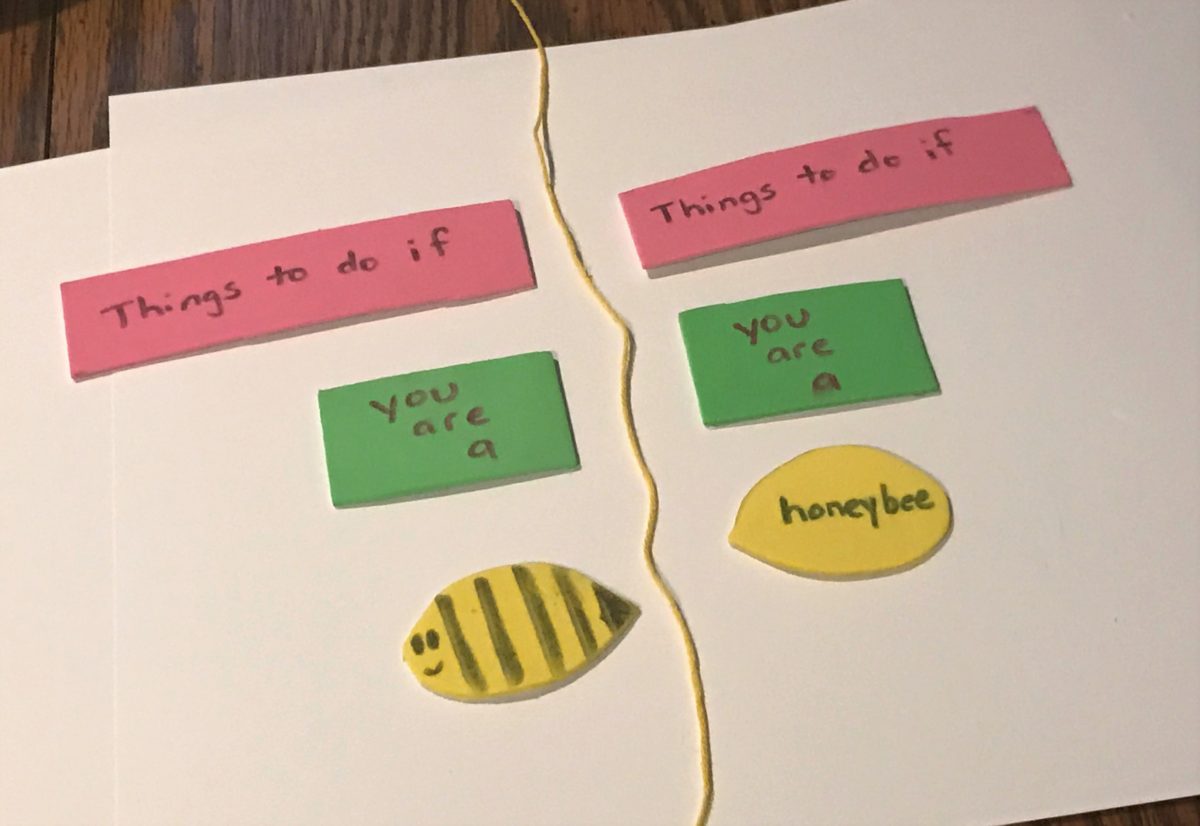
1. Children can write their own Things to Do poem or choose one from the book. For the sample craft, I chose “Things to do if you are a honeybee.”
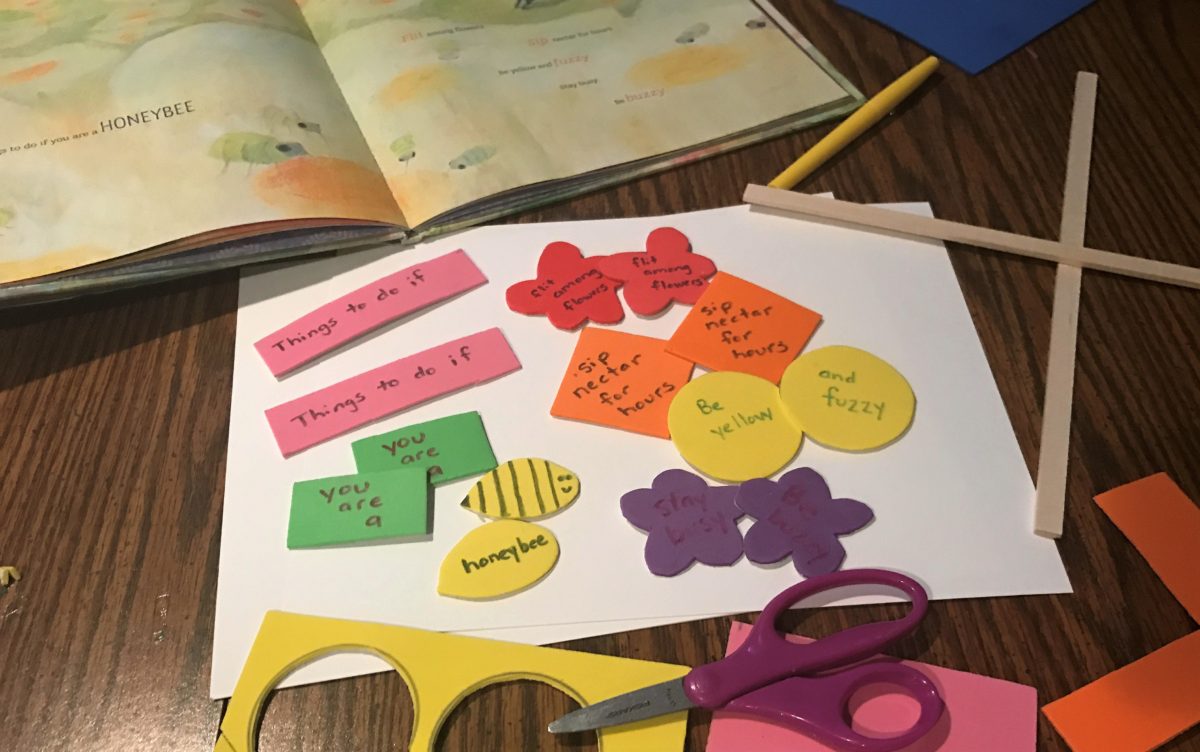
2. Cut out seven pairs of matching shapes from your craft foam or construction paper. How creative you get is up to you! (You could also use pre-cut foam, paper or cardboard shapes. )
3. Write part of your poem on each pair of shapes. You may write the same line on both matching shapes, split a line across the two shapes, or write on one shape and decorate the other, as shown below.
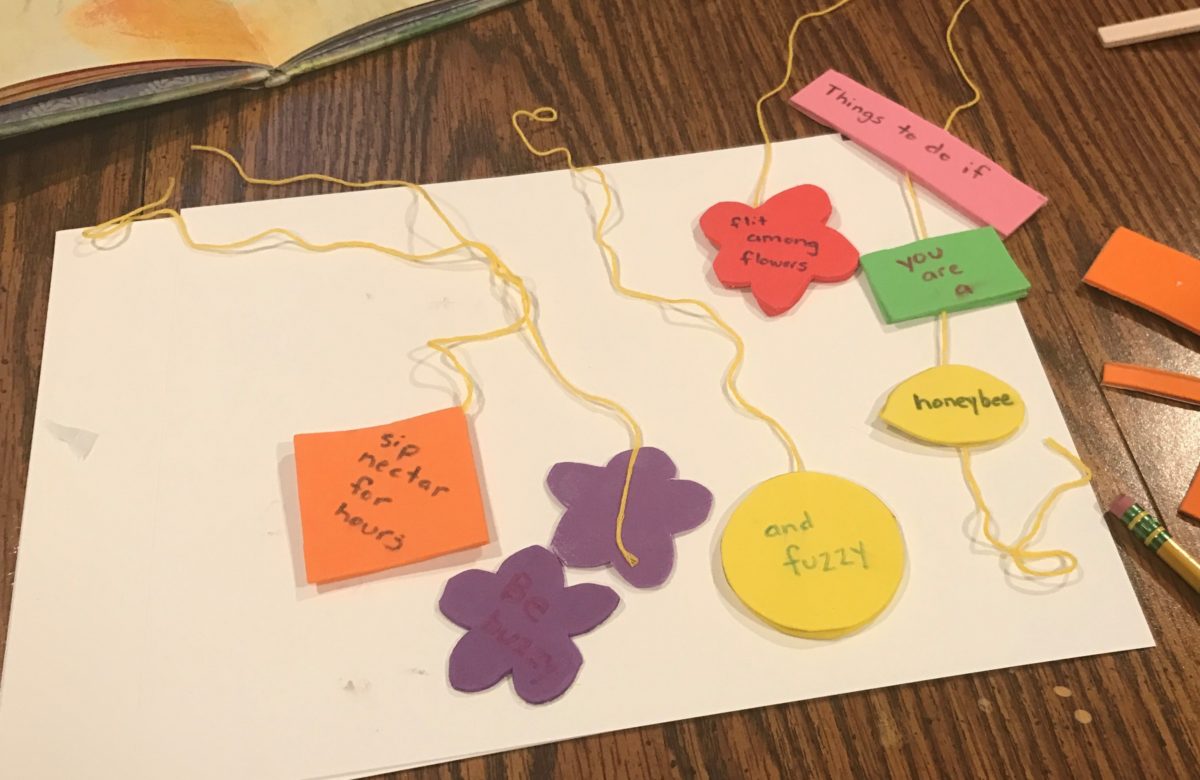
4. Cut an 18″ length of embroidery floss or string. Line up your first 3 pairs of matching shapes on either side of the string.

5. If using adhesive-backed craft foam, peel the backing off one set of shapes. Lay them sticky-side up. If using construction paper, turn one set of shapes over and apply glue to the backs.
6. Center the string on your upside-down shapes.
7. Press the matching shapes onto their partners, sandwiching the string between the shapes.
8. Cut four 12″ lengths of embroidery floss or string.
9. Attach a pair of shapes to each of the four 12″ strings using the “sandwich” method from step 7. Feeling fancy? Add beads, bells or embellishments to the ends of one or more strings.
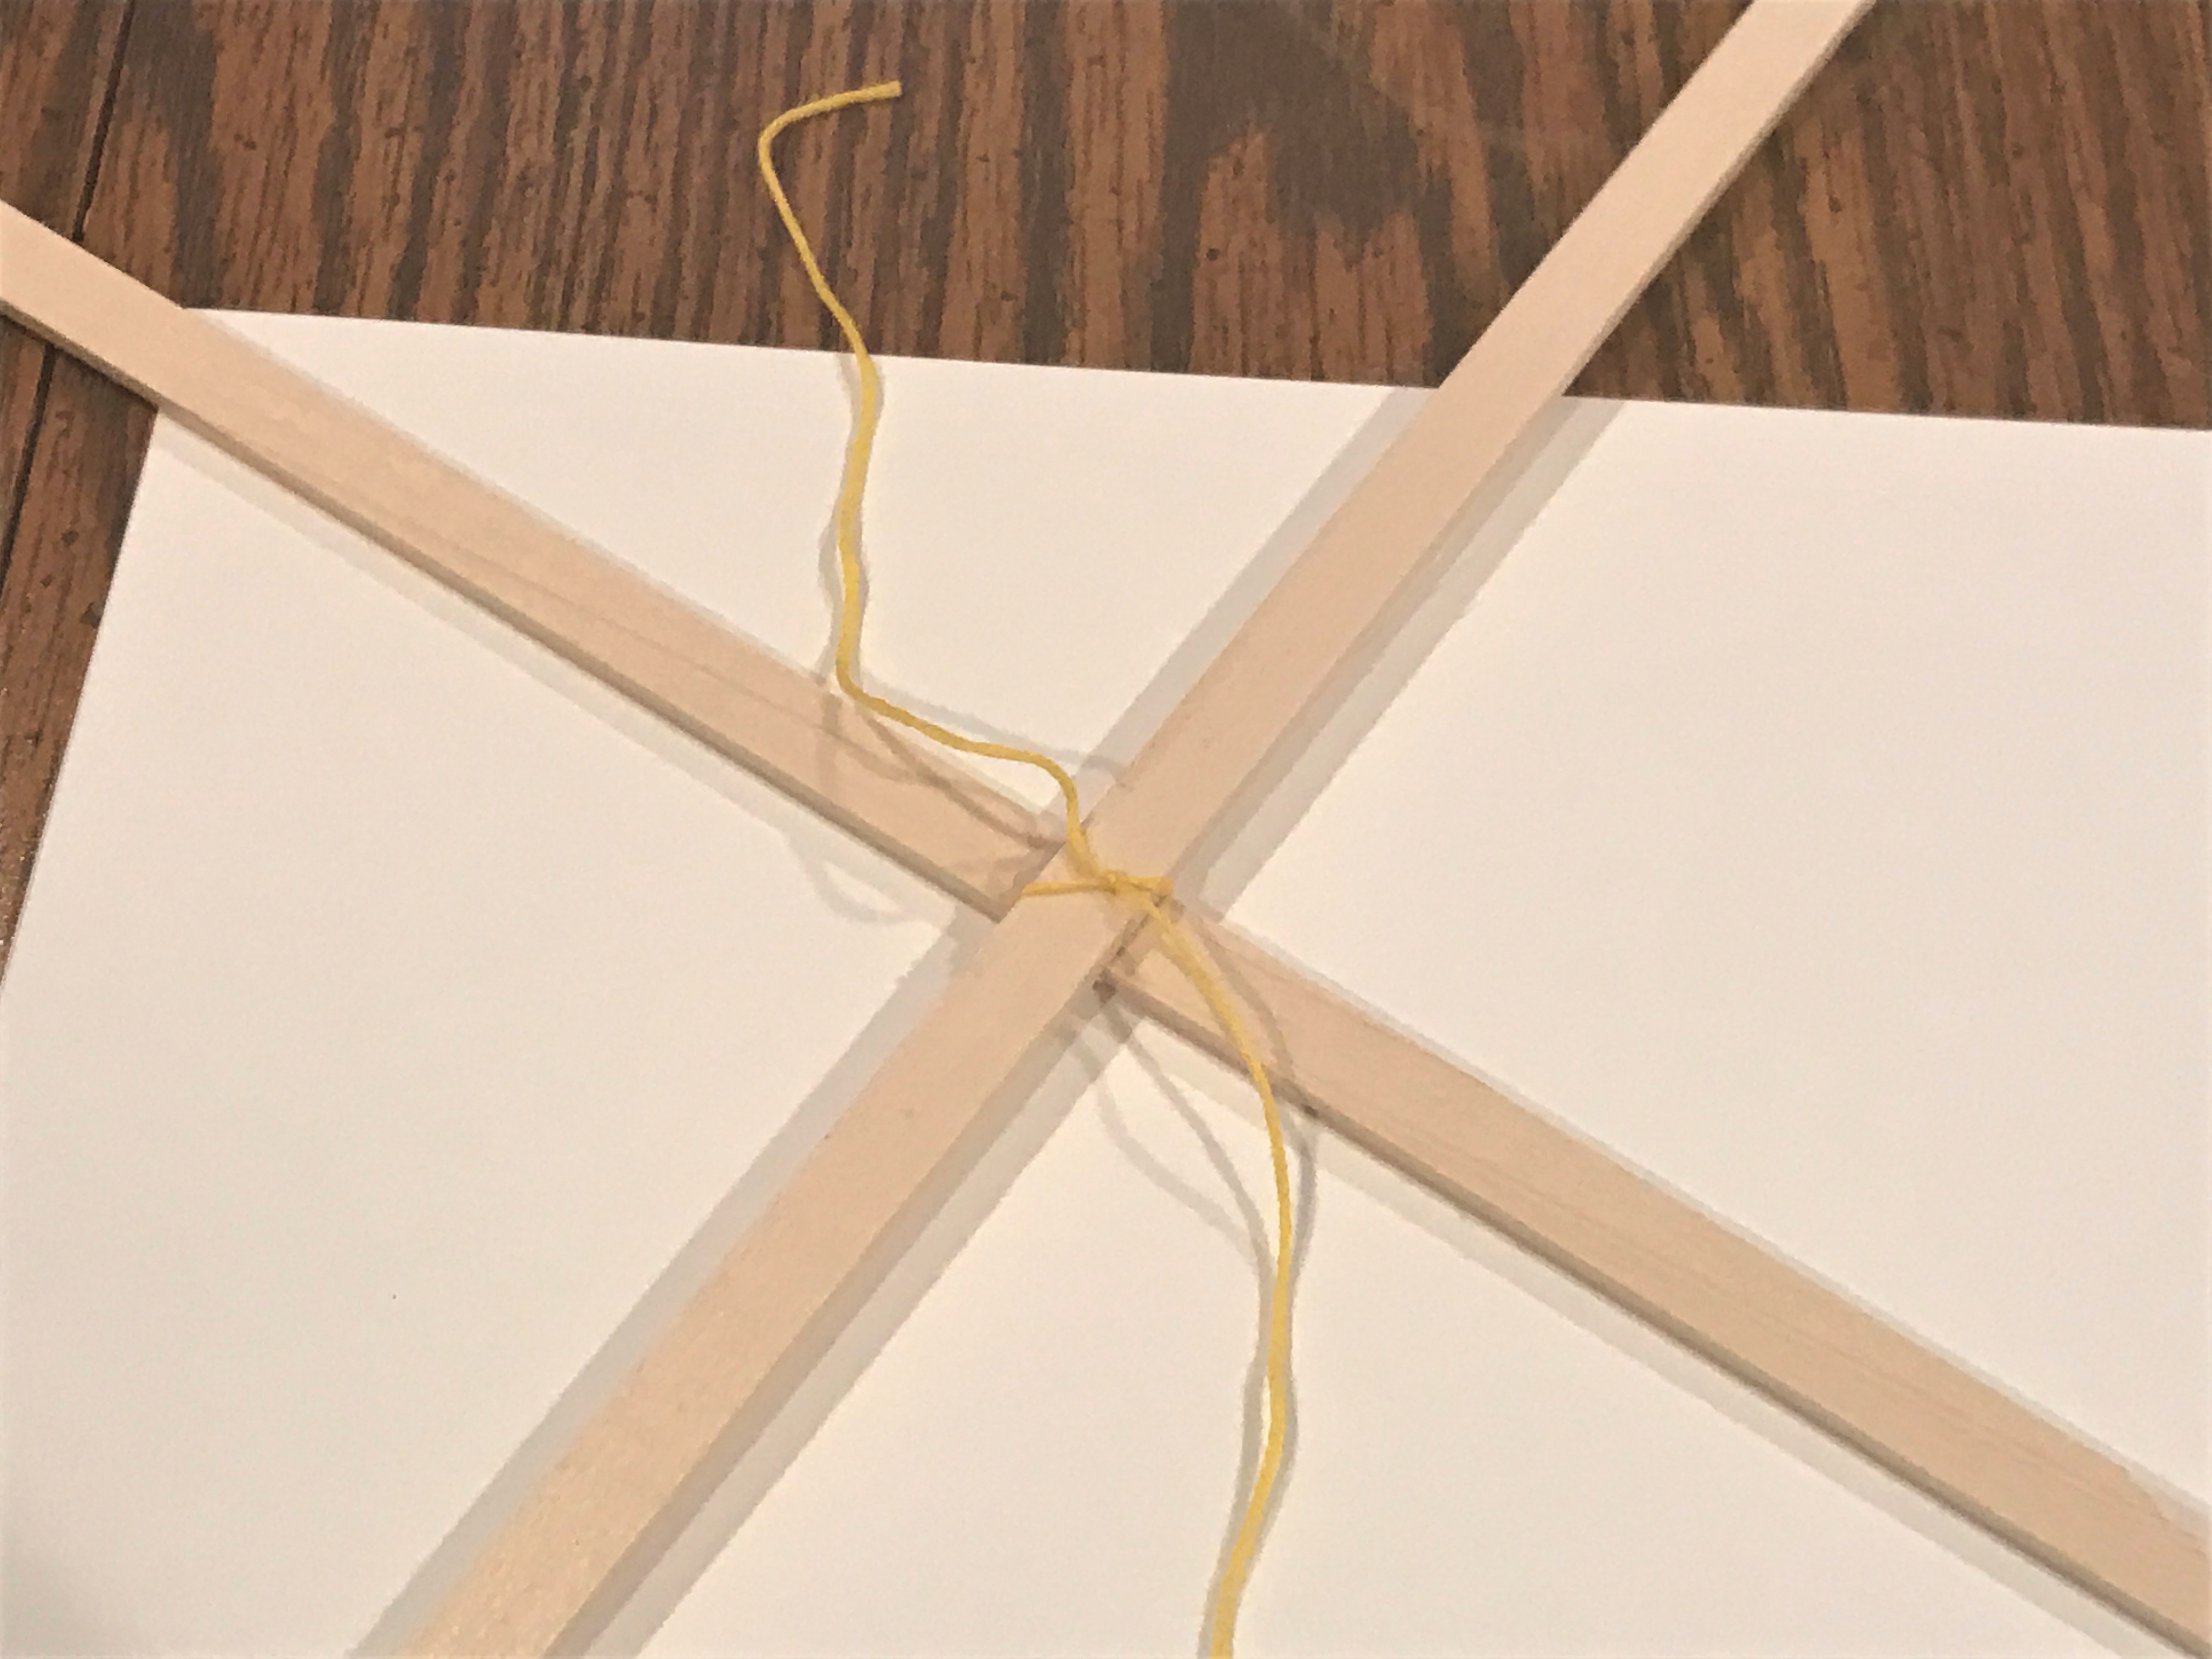
10. Place your wooden dowels in an “X” shape and secure them with white or hot glue.
11. Cut a 6″-12″ piece of embroidery floss or string. Tie it into a loop around the center of your wooden “X.”
12. I find it’s easier to attach the dangling strings if I hang the wooden “X.” I suggest taping your hanging loop to the edge of a table for steps 13-15.
13. Tie your center “Things To Do” string around the cross point of the wooden “X.”
14. Loosely tie each of the four 12″ strings from one of the arms of the “X.” Make small adjustments to their length and distance from the center until it balances the way you like.
15. When everything is balanced, use a drop of white or hot glue to secure each string. Trim loose/stray string ends.
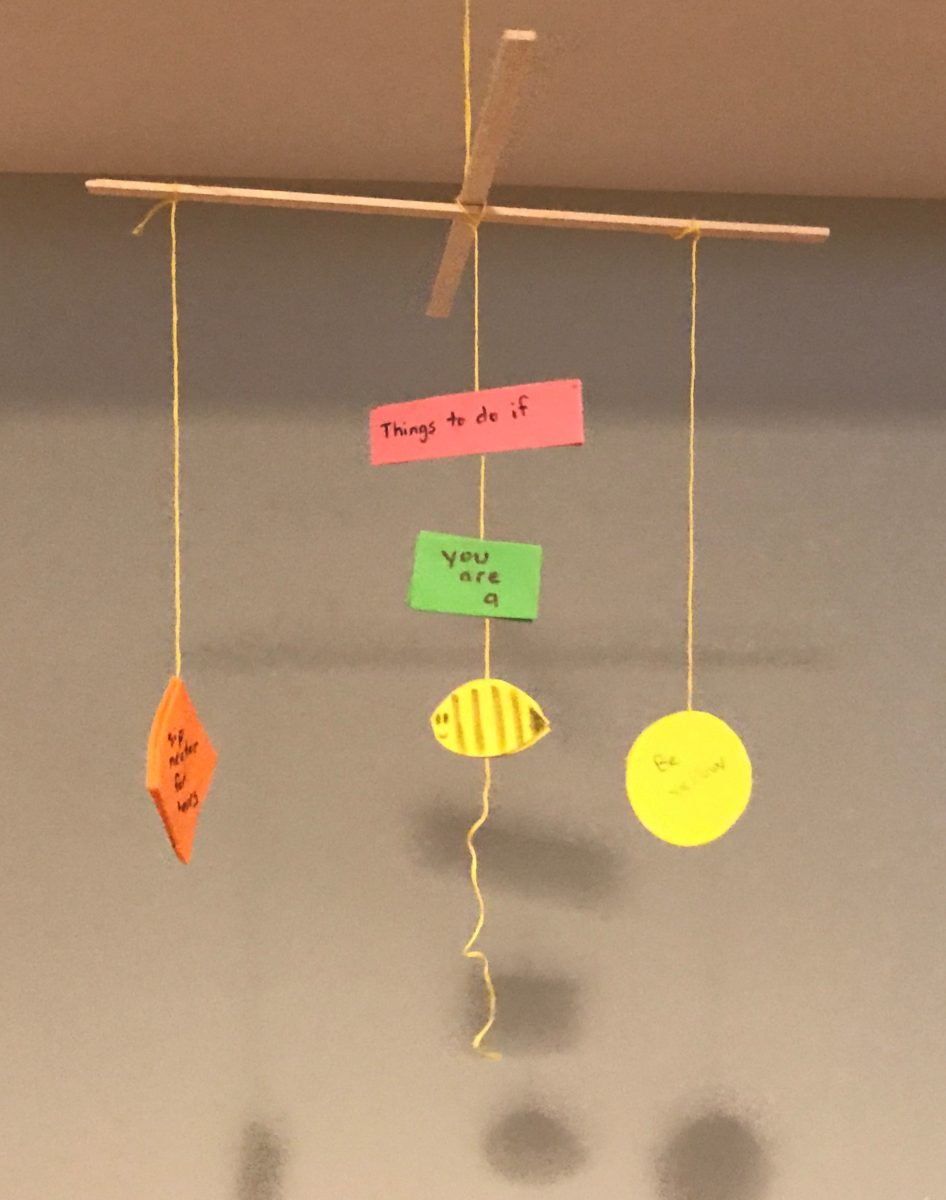
Voila!
we’re all done!
We’re putting our poetry in motion by hanging these all around our backyard! Where will you hang YOURS?
Join us as we celebrate ALL THE WONDERS of Things To Do with podcast interviews, a mobile craft, and a look inside the book!
